In my previous post we installed the latest apache and php from source and now I'd like to install xDebug to it. As stated in the comments on the previous post, I like living on the edge, so I build it myself, instead of using packages like MAMP or XAMMP or using binaries. With that out of the way we can prepare our system for the addition of PHP modules.
Because we didn't need these commands for normal operation, phpize and php-config were still the standard Apple ones. We now need these commands, so we'll make sure,just in case, the latest ones are used; open up your terminal and execute the next lines:
sudo mv /usr/bin/phpize /usr/bin/phpize-leopard
sudo ln -s /opt/local/php/bin/phpize /usr/bin/phpize
sudo mv /usr/bin/php-config /usr/bin/php-config-leopard
sudo ln -s /opt/local/php/bin/php-config /usr/bin/php-config
Create a folder to contain the sources for xDebug. It's fine to use a filder in your userdir, so we'll be using the 'source' folder in your homedirectory(if you want you can choose another folder).
mkdir ~/source
cd ~/source
Now you can go along two paths:
-
Download the sources for the **stable release(2.0.4)** of the xDebug package and extract it to a folder(a folder source/xdebug in your homedirectory is fine). Enter the next commands to download and extract the source:
curl -C - -O http://xdebug.org/files/xdebug-2.0.4.tgz tar xzf xdebug-2.0.4.tgz cd xdebug-2.0.4 -
Get the **latest version(2.1 unstable)** by downloading from CVS. The advantage is you can use several newer features (like errors that contain a link to the file and linenumber, opening in your IDE or editor of choice). Execute the following commands:
Then enter the password srmread and issue the next commands;mkdir ~/source cd ~/source cvs -d :pserver:srmread@cvs.xdebug.org:/repository logincvs -d :pserver:srmread@cvs.xdebug.org:/repository co xdebug cd xdebug
Now we have the sources in the source/xdebug folder in our homedirectory(make sure you are in the folder containing the config.m4 file). Prepare this package for the php version at hand by using the next command:
phpize
Then we need to set some parameters to ensure proper compiling on the mac(this should work on all flavors; Intel and PPC based Macs):
export MACOSX_DEPLOYMENT_TARGET=10.5 CFLAGS="-arch ppc -arch ppc64 -arch i386 -arch x86_64 -g -Os -pipe -no-cpp-precomp"
export CCFLAGS="-arch ppc -arch ppc64 -arch i386 -arch x86_64 -g -Os -pipe"
export CXXFLAGS="-arch ppc -arch ppc64 -arch i386 -arch x86_64 -g -Os -pipe"
export LDFLAGS="-arch ppc -arch ppc64 -arch i386 -arch x86_64 -bind_at_load"
Then we can compile and build the module:
./configure --enable-xdebug
make
We'll copy the module to the PHP modules folder, because that's were it's going to be used ;)
sudo cp modules/xdebug.so /opt/local/php/modules
Add the following to the end of the /opt/local/php/lib/php.ini file:
[xdebug]
zend_extension=/opt/local/php/modules/xdebug.so
Now restart your webserver to incorporate the changes to the php.ini file:
sudo apachectl restart
If you go to the testpage we created in the last blogpost(or if you create a new php file containing phpinfo(); in your webroot), it should then show the following bar at the top:
for version 2.0.4:

and for 2.1 dev:

And almost at the bottom of the page there should be all xDebug parameters.
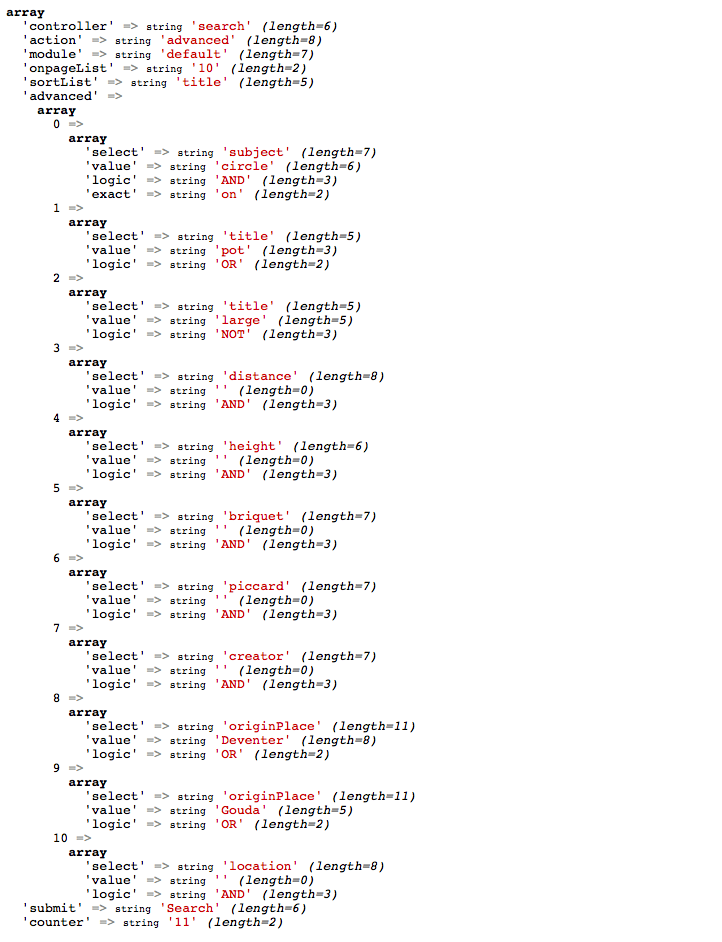
Now every time we use a var_dump() it looks like this:
And if an error occurs, it shows like this:

At this time we have more advanced error reporting and we have better looking var_dumps() and we can connect a debugger to xDebug and can use xDebug for application profiling.
More on how to do this on MacOSX in the next post.